Integrating banner sliders in WordPress themes is crucial in elevating website aesthetics and boosting user engagement. These sliders offer a dynamic platform to display images, videos, and text seamlessly and interactively, making the website’s first impression memorable and impactful. Therefore, strategically using banner sliders within WordPress themes is essential for creating visually appealing and user-centric websites.
Now that you understand the importance of banner sliders in a WordPress theme let’s dive into how the Appointment WordPress Theme harnesses this feature to elevate your website’s design and interactivity. With its straightforward integration process, this theme allows for the effortless creation of visually stunning and engaging banner sliders. Whether you aim to showcase impactful images, videos, or promotional content, the Appointment Theme provides a robust platform.
To begin adding a banner slider using the theme’s post slider functionality, create a post category, add slides, and display these slides on your site. Let’s go step by step.
Step 1: How to add Post Category?
- Navigate to the WordPress dashboard and select “Posts” from the menu.
- Click on “Categories” to access the category management area.
- Here, you can create a new category by entering a name of your choice.
- After naming your category, click the “Add New Category” button to finalize its creation.

Step 2: How to add Slides?
The Appointment WordPress Theme turns adding slides into a creative journey, designing unique slide designs for each post format. While the lite version supports the standard post format, upgrading to the premium version unlocks the ability to add slides in four additional formats: Video, Status, Aside, and Quotes. With the premium version, you can effortlessly create diverse, engaging slide variations, elevating the overall user experience.
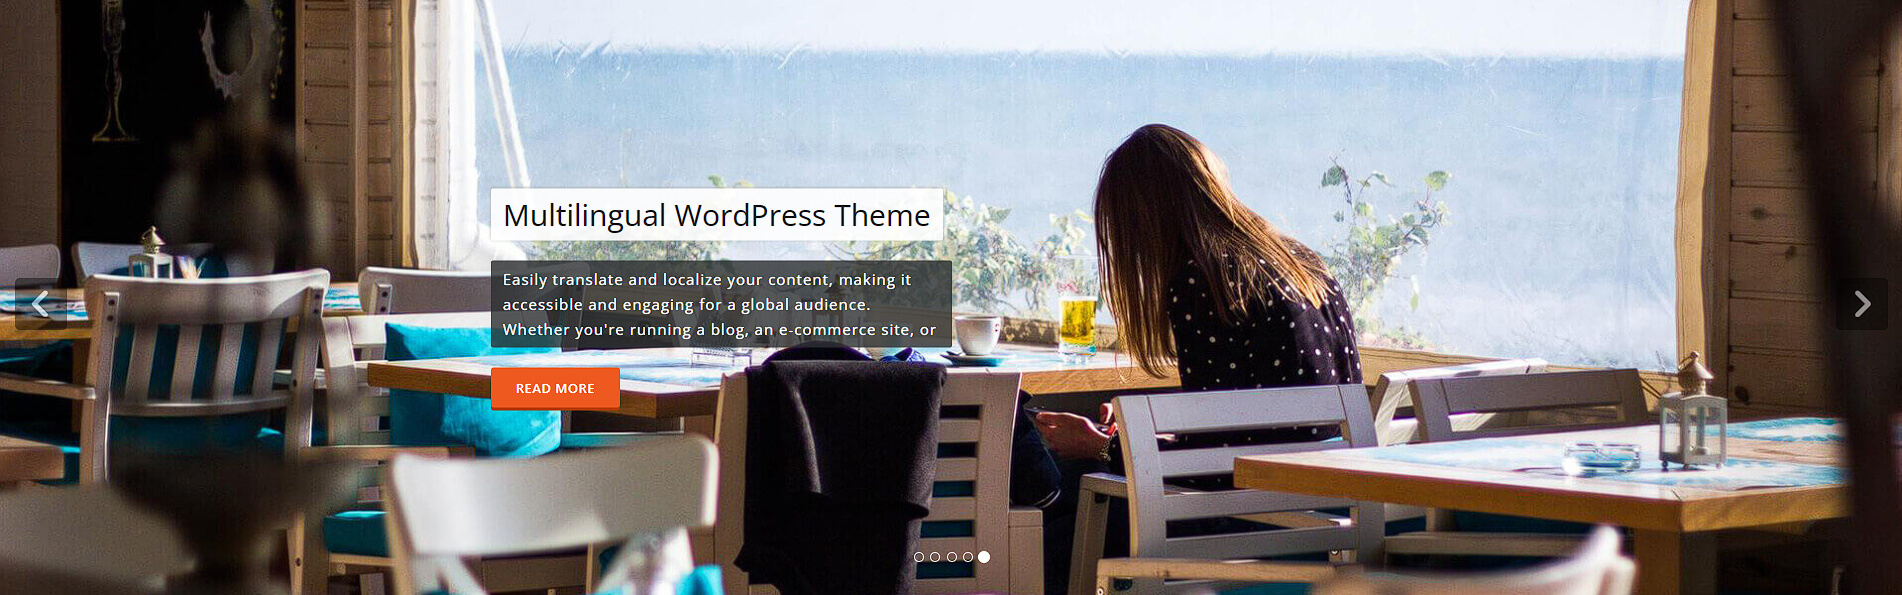
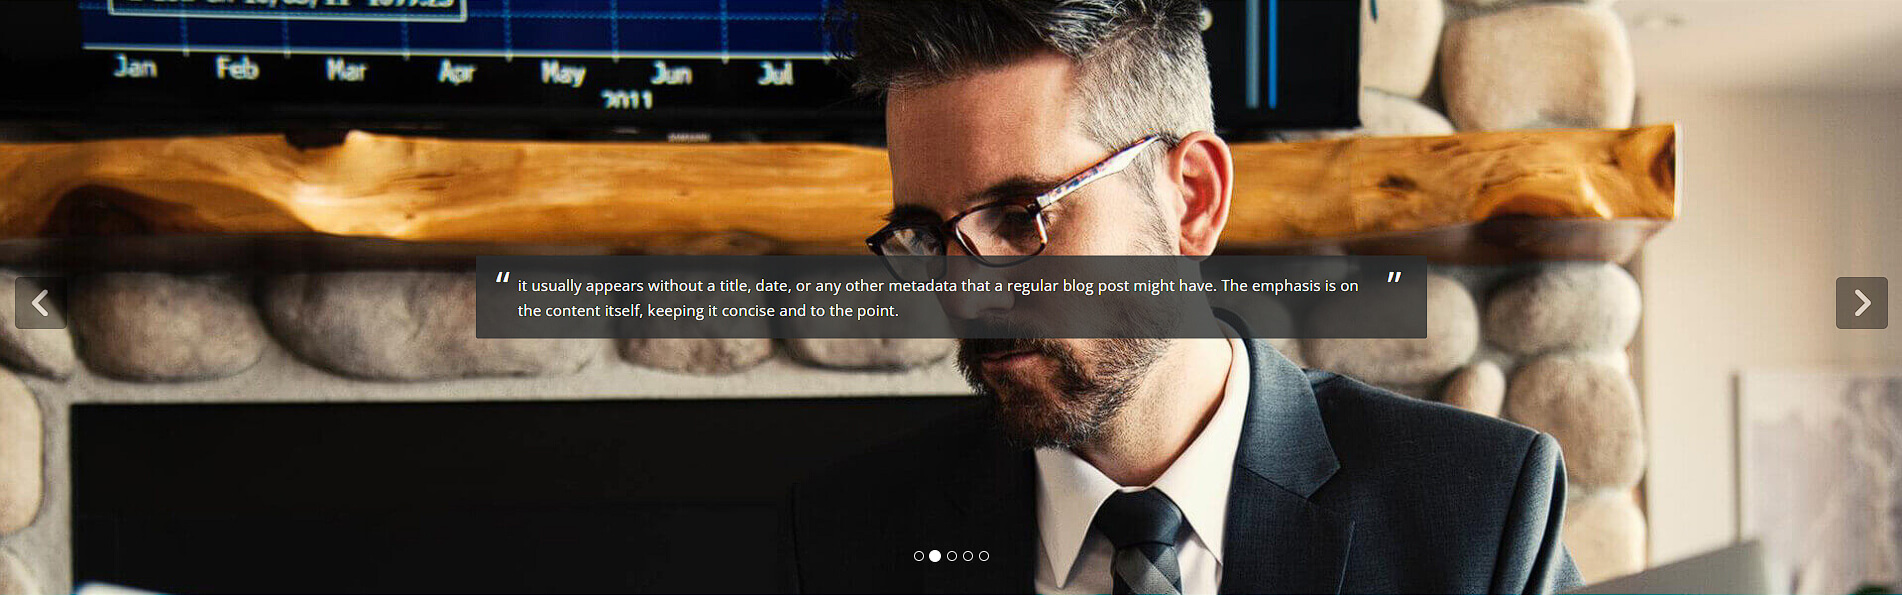
Adding Slide Using Standard, Status, Quote and Aside Format
To add a new slide, navigate to the WP-Menu, select Posts, and then Add New. Input your post title and description, choose the Standard Format, select your previously created category, and upload an image via the Featured Image option. After setting up these details, clicking Publish will activate your post as a slide. Similarly, you can enhance the diversity of your slideshow by selecting other post formats, such as Status, Quote, and Aside, following the same procedure. Refer the screenshot

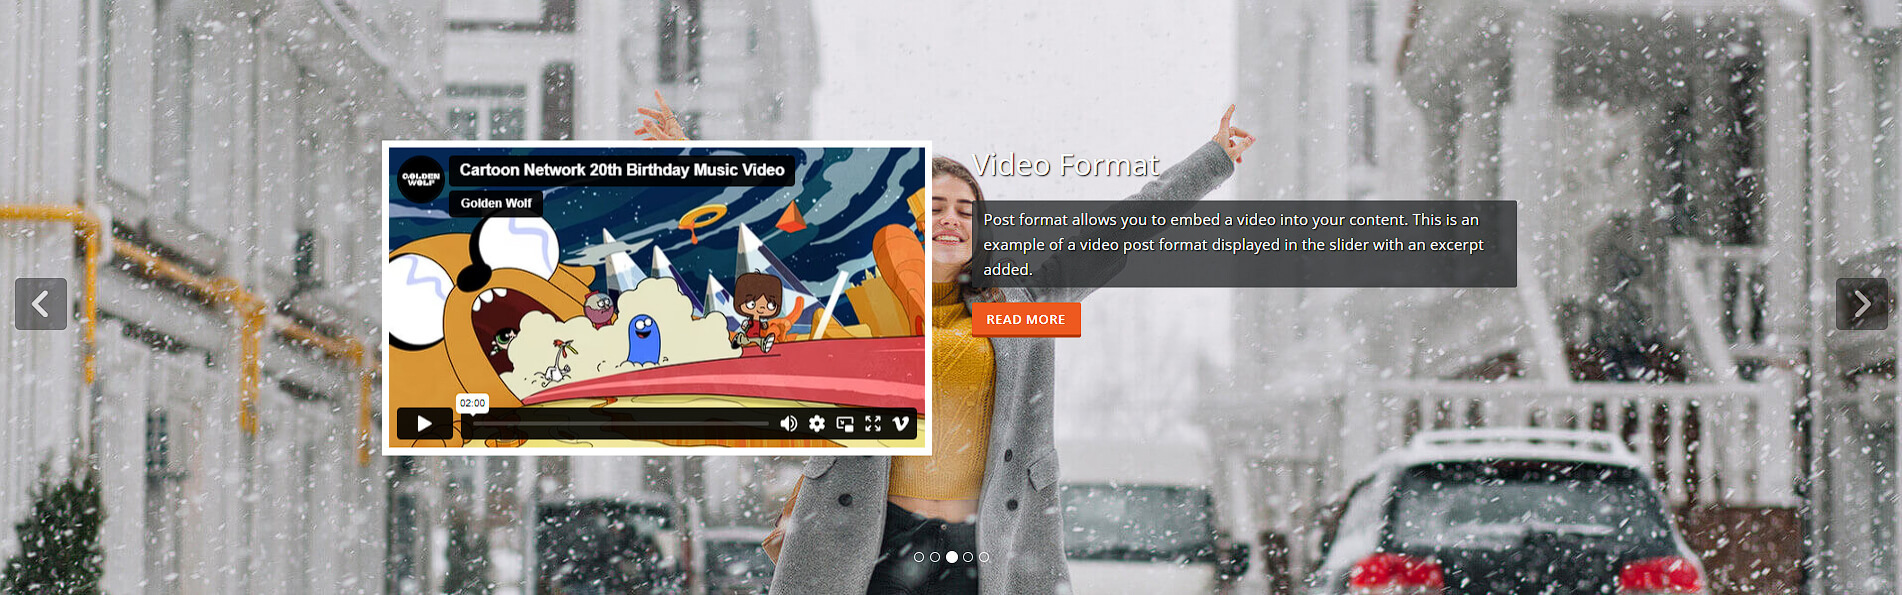
Adding Slide Using Video Format
To incorporate a video slide, proceed to the WP-Menu, choose Posts, then Add New. Input the post title and description, select the Video Format, pick your designated category, and add your video. Paste the video link directly into the text editor for videos from platforms like YouTube, Vimeo, or WordPress.tv. Set all the details, then click “Publish” to activate your video slide. This process lets you dynamically integrate video content into your website, enriching the user experience with multimedia elements.

Slide Variations of Various Post Formats


Step 3: How to display slides?
To configure your website’s slider, follow these steps:
- Navigate to Appearance > Customize > Slider Settings > Featured Slider Settings.
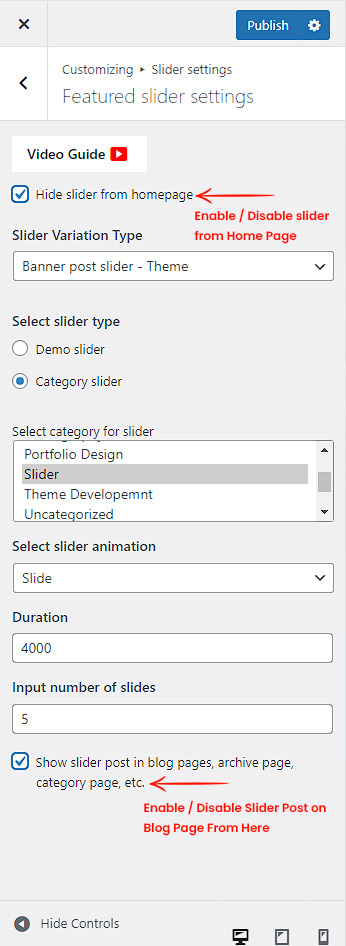
- Click the tab to access the slider settings in the Featured Slider Settings. Here, you will find various options to customize your slider. Choose the desired category and click the Save button at the screen’s top right corner to apply your changes. Verify that the slider on your homepage is functioning correctly. Slider Configuration Options:
- Hide Slider from Homepage: Enable this option to hide the slider section from your homepage.
- Slider Variation Type: Choose the slider you want to use from the available options.
- Banner Post Slider – Theme: Use this option to add the default slider to your website.
- Banner Post Slider – Plugin: This option allows you to add a banner slider provided by the plugin. To use this feature, ensure the Spice Post Slider plugin is installed and activated. Learn More
- Select Slider Type: Choose between demo images or your images for the slider.
- Select Category for Slider: Choose a category for your slider. After selecting, the system will display all categories for you.
- Select Slider Animation: Choose between slide or fade animations for your slider transitions.
- Duration: Set the duration (in seconds) between two slides.
- Input Number of Slides: Specify the number of slides you want to include in your slider.
Remember to save your settings after making changes to ensure your slider is updated accordingly.
We are constantly adding new banner slider variation designs Here find all the variations

4. Enable / Disable Settings
We have offered 2 settings :
- For hiding slider from Homepage
- For hiding Slider post from the blog and archive pages.
5. Can you display a custom button on slides?
Absolutely! To add a custom button to a slide, navigate to WP-Menu, select Posts, and then Add New. This functionality lets you craft a unique button directly on your slide. Look for the Customize Read More Button option in the slider settings below the page editor. Activate this feature, input your desired button text and link, and you’re all set. This process, highlighted in the attached screenshot, simplifies adding interactive elements to your slides and enhances user engagement on your website.

6. Can you use HTML markup for slider descriptions?
Yes, indeed! Both Standard and Video format slides support HTML markup for descriptions. You must install the Rich Text Excerpts plugin to enable this functionality, which allows HTML in the Excerpt box. This addition opens many possibilities for enriching your slides with more sophisticated formatting and content. If you’re more comfortable learning through visual aids, consider watching our tutorial video for a step-by-step guide on effectively implementing this feature.